Caring for Marimo Balls
MARIMO CARE 🦠
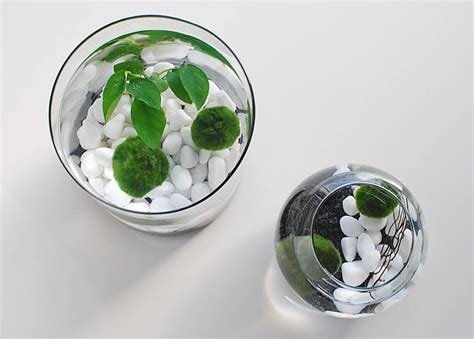
Widely kept as ornamental plants in jars in Japan, they improve water quality by generating oxygen and removing nitrates.
What is marimo?
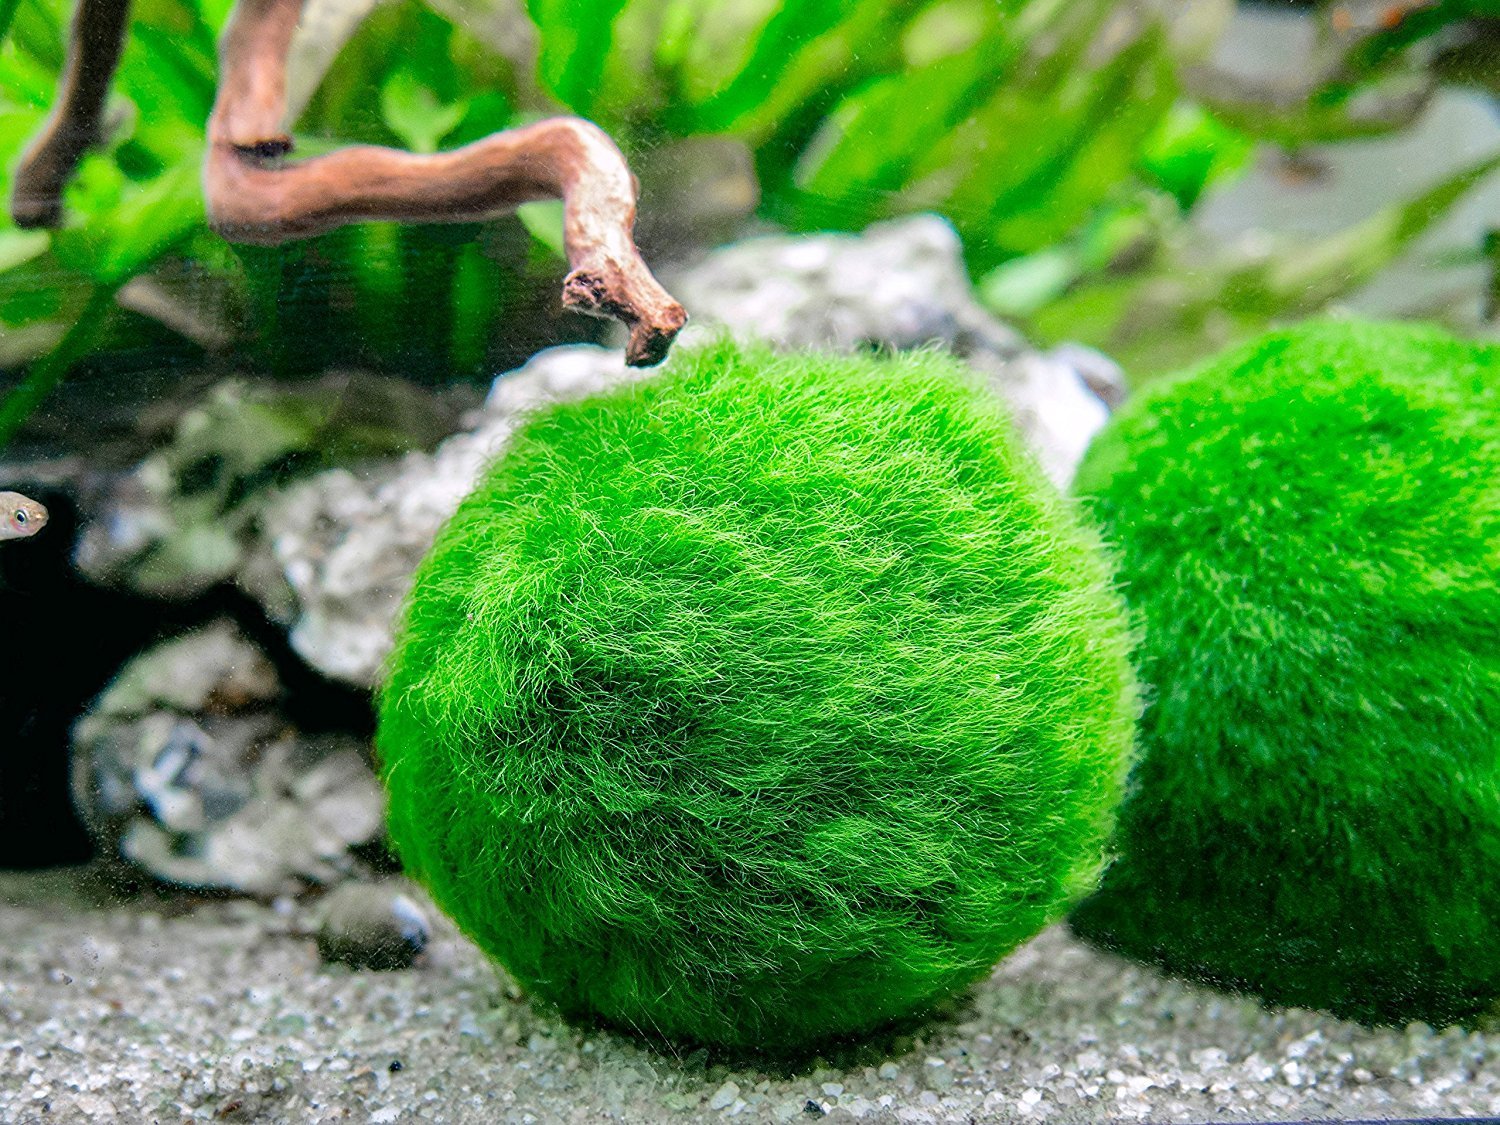
Marimo balls are a highly unique and rare form of algae growth known botanically as Aegagropila linnaei. The majority of our Marimo balls range from 1.5 to 2.25 inches in diameter, which means that their estimated age is 8 to 15 years old. We occasionally have Marimo balls as large as 3 to 4 inches in diameter, and they are estimated to be over 20 years old! The largest reported size of one Marimo ball is around 12 inches in diameter. They grows VERY slowly (only about 5 millimeters per year), so it will take them an extremely long time to gain a significant amount in size. If you desire smaller Marimo, you can cut the moss balls into smaller pieces and the individual pieces will grow into separate nano Marimo balls.
They can only be found growing in a few lakes throughout the world, which are located in Japan, Iceland, Ireland, Scotland, and Estonia. As the algae grows in these lakes, the movement of the waves causes them to gradually form into spheres of soft, green algae with a fuzzy, velvet-like texture.
Marimo balls are regarded as good luck charms in Japan, and since they have been known to live to 200 years or longer, they are often kept as family heirlooms. They are thought to symbolize close bonds between family members or close-knit friends, and are often passed down to children and grandchildren or nieces and nephews. By the time future generations receive the Marimo, they will be larger in size and will continue to grow with each generation. Additionally, Marimo are sometimes given to young children as "pets," since their care requirements are very minimal.
WHERE DOES marimo COME FROM?
Marimo moss balls originated in Japan. They were found to grow in shallow lakes. They’re popularly found in cold waters, such as their “home” lake- Lake Akan in Japan.
However, they’re also found native in Iceland and Estonia. They grow in shallow bodies on the lake floor up to depths of 2.5 meters. The circular shape, or should we say spherical shape, is caused by the water currents rolling, molding, and forming the ball.
The ball itself is actually made out of algae and that’s been rolled around in circles and formed into these moss balls. Most people know about these little green fuzzy balls simply as moss balls, and you’ve probably seen them in aquariums and fish tanks. They’re not exactly made of moss, as most people would assume.
How to Care for Marimo Balls
PICKING THE RIGHT SPOT- Don’t keep your marimo in direct sunlight. Although we mentioned earlier that they grow in sunlight, that doesn’t mean leave them in the sun all day. Algae naturally need light to grow, but a photocycle. Leaving your Marimo in the sun for periods of time may actually have the exact opposite adverse effect and stunt its growth. In Japan, they actually appear on the bottom of lakes where it’s obviously dark. Sunrays do reach the bottom, but it’s definitely partial sunlight and you should try to create the same effect environment within your marimo’s habitat. Remember, it’s a living organism and responds to environmental cues.
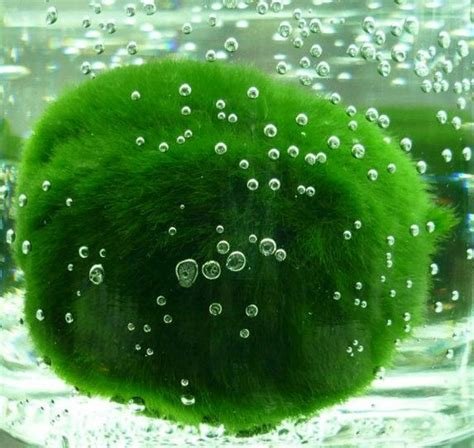
OPEN AIR CONTAINER- Like any other plant, these balls need a constant supply of fresh air. When light hits the container, photosynthesis takes place, which requires a constant supply of fresh air. They also release oxygen as a product of the reaction, which needs somewhere to diffuse to. If the container is closed, the marimos will use up all the available air and simply convert it all to oxygen and by-products from the reaction.
Think about them like any other plant. Would you put a sunflower or daisy in a sealed mason jar? Probably not. Marimos need the same care. If kept in a sealed container, they’ll turn brown quickly when all the available elements in the jar are used up. Don’t let this happen. Things like jars with lids, bottles with caps or corks, or small mason jars with sealed tops are not recommended.
COLD WATER TEMPS- Keep an eye on the water temperature. Marimos prefer colder temperatures. In the wild, marimos only appear in cold waters around Iceland in Northern Japan. If you have an aquarium heater or live in an area where it’s naturally hot, you may have to either get an aquarium chiller or move the marimo’s tank to a cooler area. It’s actually advisable to place the entire habitat in your refrigerator, assuming it fits, during the hotter months. The temperature that you need to watch out for is 77 degrees fahrenheit and above.
Try to keep the temperature between 62 – 70 degrees fahrenheit. If the temperature goes higher, you have to move it to a cooler area. If you are housing it by itself, you can also add some ice cubes to the water to cool it down if it’s just a temporary hot day. If you live in an area where it’s consoling hot, chances are you’re running the air conditioning. Consider placing the habitat near and air conditioning outlet vent where there will be a constant supply of cool air hitting the tank.
CHANGING THE WATER- Make sure you change the water. As with any fish, you should already know to do partial water changes about once a week or full water changes about once a month. When you do these changes you’re supposed to clean out the tank and remove either a portion or all of the water, depending on if it’s a partial or full change. We recommend doing partial water changes, removing and replacing about 25% of the water, at least once a week. If you are using tap water, make sure you treat it using a water treatment solution which is available at any commercial pet store.
Although there are reports that you may use regular tap water, different cities and states have different water hardness. It’s much easier to just buy a tap water treatment solution and treat your tap water and use that as prepared water for your partial water change. However, if you know you live in an area where the water hardness is very low, You may wish to use tap water and that should be fine. This is only if you just have a marimo by itself. But if you have fish, you must use a water purifier. A marimo by itself can be treated with tap water just fine, assuming you have low water hardness, but fish will always need treated water.
FEED YOUR BALLS- Using this recommended Marimo Food once a week. Just a couple drops is all you need!
ROLL YOUR BALLS- You need to roll your moss ball every other week or so to make sure all sides of it receive light evenly. If you only allow one side to receive that the other side won’t grow and will probably start turning brown. If this happens to you, simply move it so that all sides of the sphere receive some degree of light. We suggest that you don’t place other moss balls close to it or other decorations in the tank because they may disturb the sunlight that one ball may receive. If that light is coming from directly above, then you can place as many marimos next to each other as you desire.
CLEANING YOUR BALLS- Marimos require cleaning. You should dive in with your hand and pick up your moss ball every other week and gently inspect it to make sure it’s still clean. I think of it like a dog. They both need cleaning over time depending on how the tank conditions are. If your moss balls are housed by themselves, they won’t dirty too often. However, if you have other inhabitants in the tank and they leave waste, eating food, or dug up sand, you’ll need to inspect your moss balls more often. When you do the inspection simply pick it up and inspect all sides of it. You’ll instantly know if it’s dirty because it’ll turn brown or gray. Washing it is easy. Simply squish it multiple times in a container with some clean water. Afterward, or if you did happen to break it, you can roll it in your palms and sort of mold it into a spherical shape again. Gently roll it around to prevent it from falling apart, but be sure to do this very gently. This will restore the round shape and help the algae strands latch onto each other for a firmer ball.
⚠️WARNING ON MARIMO BALLS IN ALASKA⚠️
Northwest wildlife agencies warn of invasive zebra mussels in retail marimo balls. Alaska has temporarily restricted the importation of marimo Balls.
The presence of zebra mussels hiding in marimo moss balls were discovered in early March 2021 (perhaps earlier) in the US. These mussels are highly invasive and have been found attached to marimos in recent reports. They can be extremely difficult to see, as they range in size from an adult fingernail down to a sesame seed. They’re even smaller in the larval phase (veliger). They also cause millions of dollars in damage to city infrastructure and ecosystem. If you have any questions regarding this, we urge to contact your local Department of Fish and Wildlife for advice.he way you tell your story online can make all the difference.
diagnosing & solving marimo problems
My marimo is turning brown/gray: When they change colors to a brown or grayish color, they often need to be cleaned. If your moss balls turns gray or brown, it’s fine- it’s nothing to worry about. Simply give your marimo a nice shower and it should be fine, use the instructions above to clean your moss ball.
My marimo is turning white, or has a white layer: If it turns white or has a whitish tent, you may have a problem. It probably means that there’s too much sunlight. Move your moss ball to a darker location.
My marimo feels slippery or slimy: If your moss ball is slimy or slippery, there may be a type of invading algae growing around it. Although moss balls themselves are made of algae, there are foreign invading algae that like to feed on your marimo’s algae. These “bad” algae basically form a seal around the ball and choke it. The solution is to simply wash off the outer layer slowly, and often. If the layer is visible and easily tangible, use tweezers to pick it off. We suggest you do this early and often until you see no more “bad” algae growth. Increasing the salt concentration of your water may help too. Do both of these tactics and your moss ball with being green and happy again- without the slimy texture.
My marimo is brown even after cleaning it: If your marimo is brown even after multiple washing attempts, this is a sign that it’s very dirty. We suggest giving it a bath instead of a shower. Clean it thoroughly and swish it around gently in a tub of saltwater. Use a tweezer to remove the browned parts.
My marimo is brown on one side: If only one side of the Marina has turned brown, it’s because it probably didn’t receive sunlight for a long period of time. Just simply rotate the ball and turn it around with the brown side facing the light. When it becomes green again, simply roll it and roll it often so all sides receive equal lighting.
My marimo broke or I ripped it apart by accident: If your moss ball is falling apart, you can pick up the last part and roll it into a ball by itself. Be sure to give it a cleanse and reform it with your palms. Do this for both the original ball and then newly-formed one that you just made. Inspect the color and make sure it doesn’t turn brown. If it does, it needs sunlight. Give all parts equal sunlight and also wash them often. The new ball should turn bright-green after going through a slightly darker-green phase. You’ll now have 2 moss balls from 1.
My marimo is turning black: If your marimo turns black, it’s probably due to neglect and improper care. It could also be due to hostile algae that hasn’t been treated or it has simply been neglected for too long and regular maintenance hasn’t been practiced. Immediately remove the black parts and wash the ball. Reform it easy multiple times a week until it becomes green again.
If it changes to any other color, refer to this guide and treat it accordingly. Chances are, you are new ball will be much smaller than it was before, but at least it will survive and begin growing again. Be sure to increase the salinity of the tank and watch for color changes. Treat changes immediately using this guide.
Written by Shii Kaina
Botanist, Horticulturist, Environmentalist and Master Gardener, Shii Kaina, is passionate about blending the lines between indoors and outdoors with sustainable biophilic design and teaching individuals to grow food, while nurturing themselves and the planet.


